Build · Fly · Code
Get Started
With Hopper
Four steps from box to first flight. Do them in order and the first flight goes the way it should.
Four steps from box to first flight. Do them in order and the first flight goes the way it should.
Start here
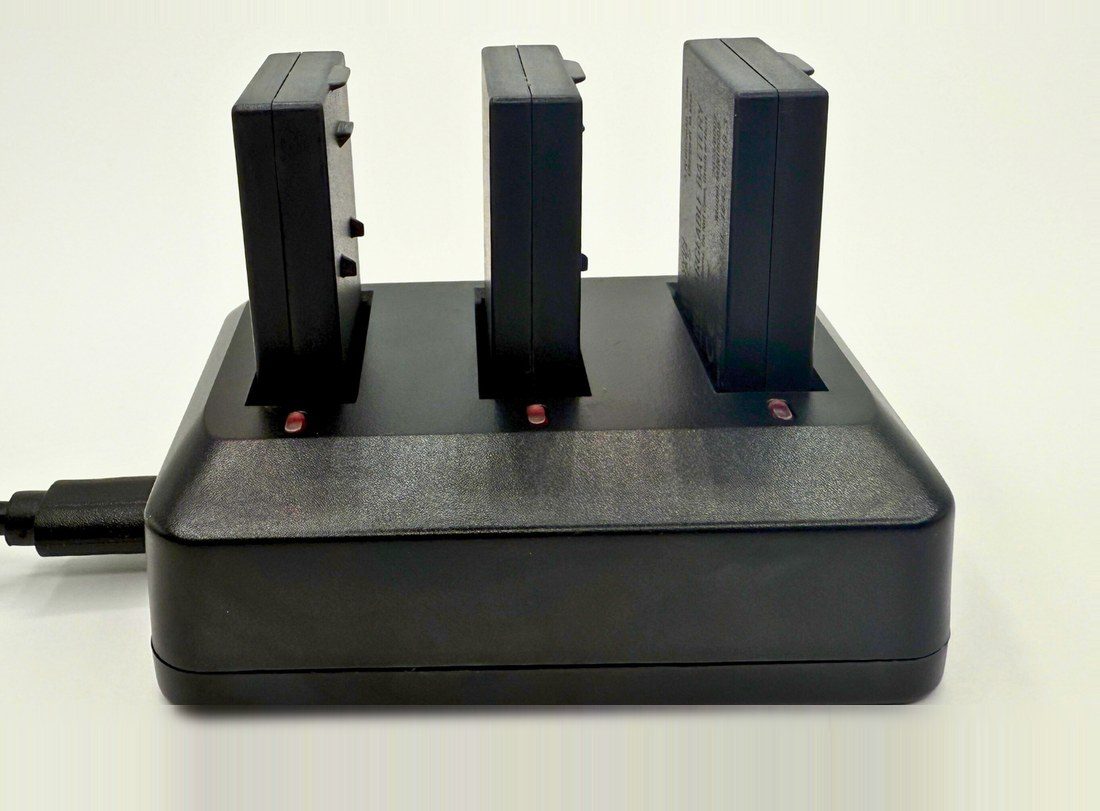
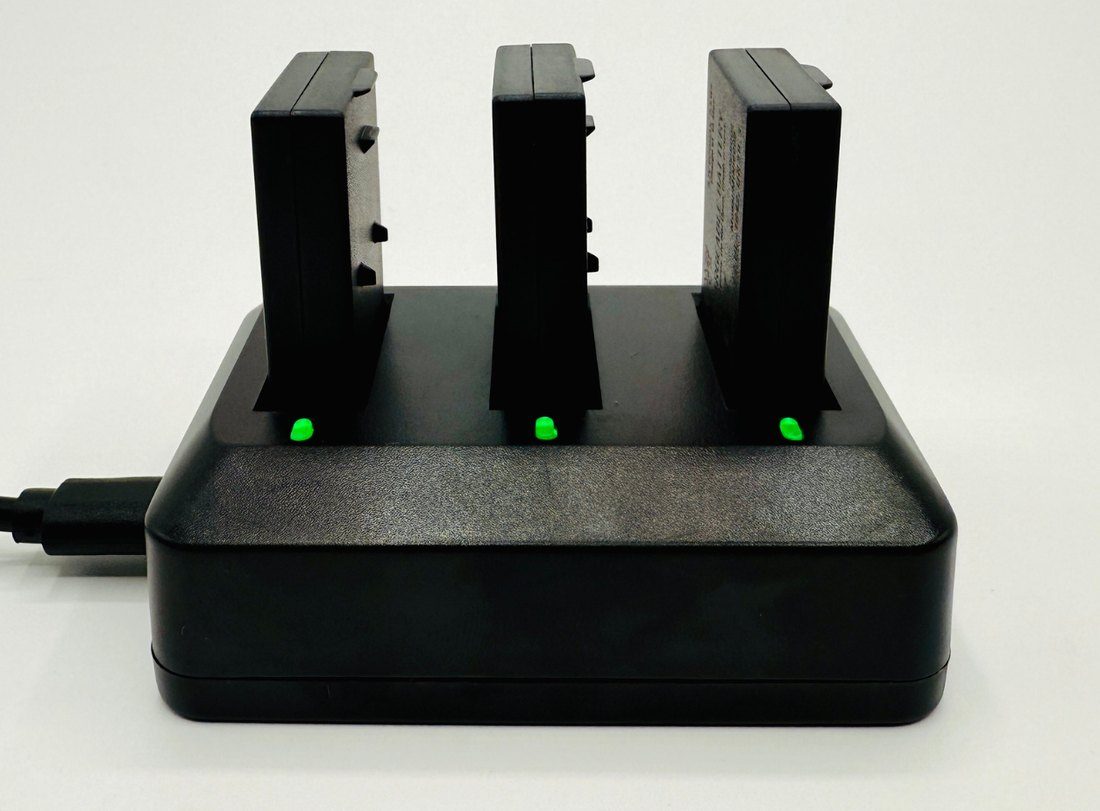
All three batteries to full. They ship partially charged on purpose, because that is the ideal state for battery storage.
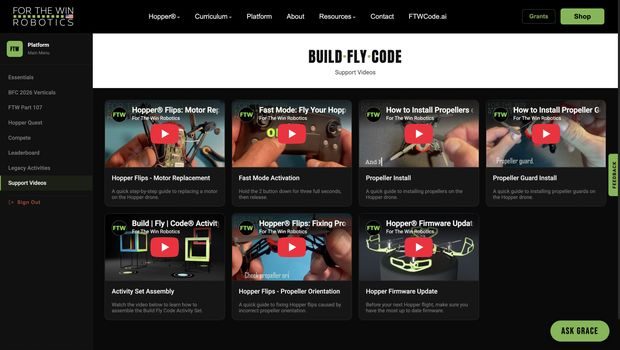
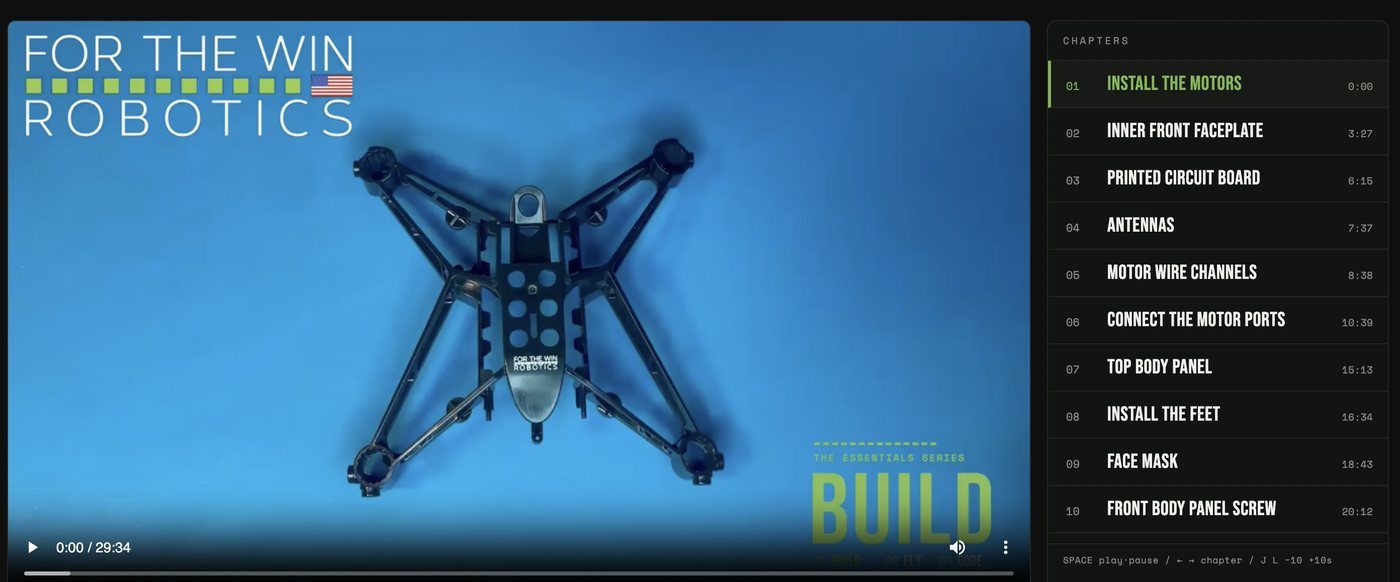
02Your Hopper ships unassembled. Build walks you through it part by part, as a video to watch, a written guide to follow, or a PDF to print. Free, no sign in.
03Firmware 2.0.6 is a major flight control improvement. Hoppers ship on the latest build, so this is a quick confirmation before your first flight.
04Open floor, nothing overhead, ten feet of clearance around you at minimum.
Skipping step 03 is the single most common reason a first flight disappoints. Checking takes seconds, and the update itself about five minutes.
Unboxing
Lay everything out before you start. The tools are sized for these parts, so use the ones in the box rather than your own.
Step 01
The indicator light on the dock is red while a battery is charging and turns green when that battery is full. Do this first, because it runs in the background while you build.
Step 02
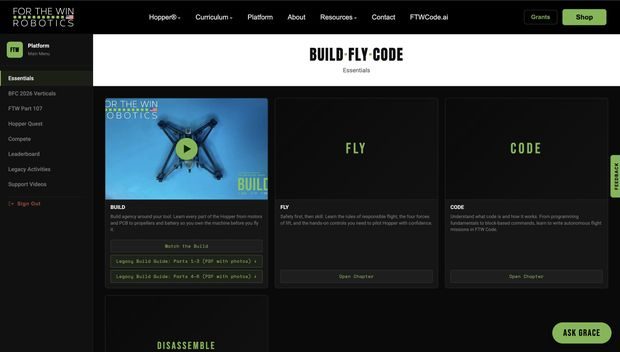
Build is the first verb of Build Fly Code. Your students will do this too, so it is written for a beginner with no prior experience, and it comes three ways. Sixteen chapters, the same sixteen in all three.
Set aside 90 minutes or more for a first build. It gets much faster after that.
Already assembled and only need the propellers and guards installed? Go straight to chapter 14, Propeller install, which covers correct orientation, then chapter 15, Propeller guards.
Step 03
2.0.6 is the current build, and Hoppers ship on the latest firmware available at the time they leave us. The one case worth checking is a drone that sat unopened for a while after delivery, because we may have released a newer build since. Confirm the installed version after assembly and run the update if it is not already 2.0.6.
Watch it done end to end: youtube.com/watch?v=shwY5lQiaEc
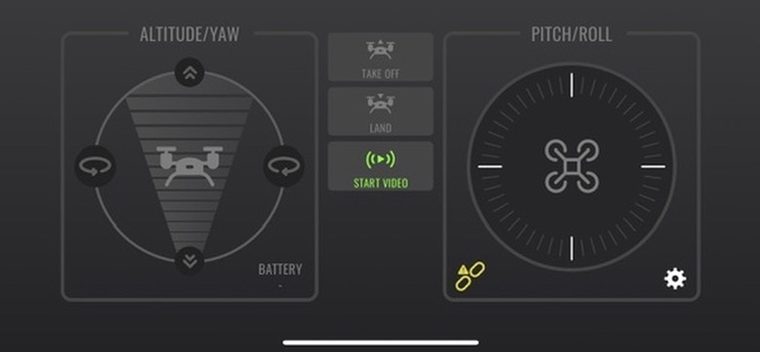
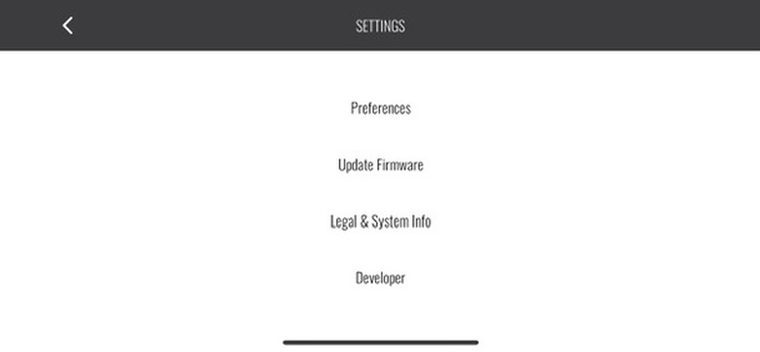
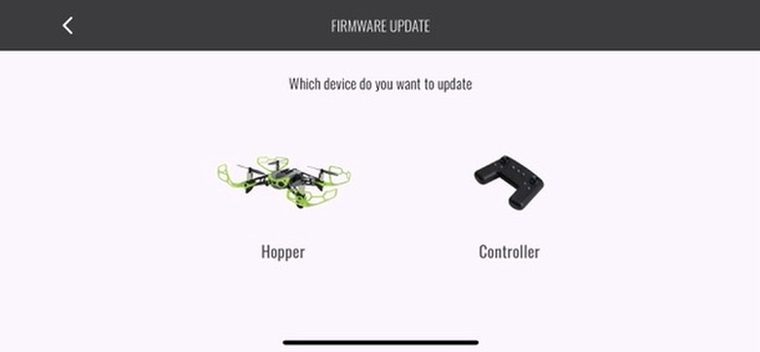
Four taps from the flight screen to pairing mode.
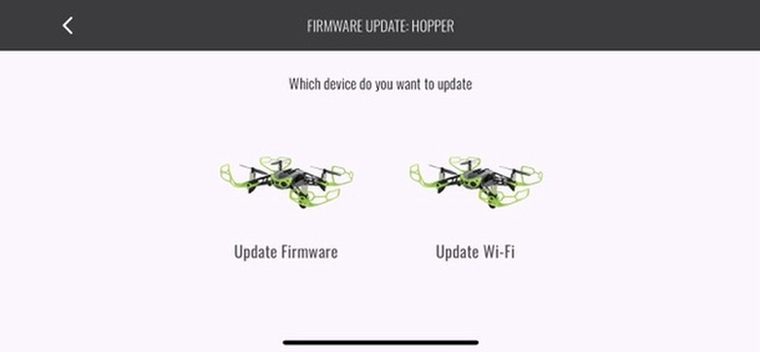
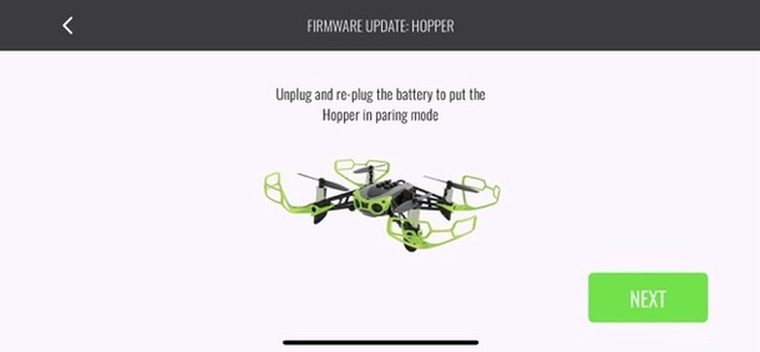
Flashing green means pairing mode. Solid green means Hopper is already connected to a controller, the app, or another device, and it will not appear in the pairing list until that connection is dropped.
The app scans, lists the drone by serial, then connects in two stages.
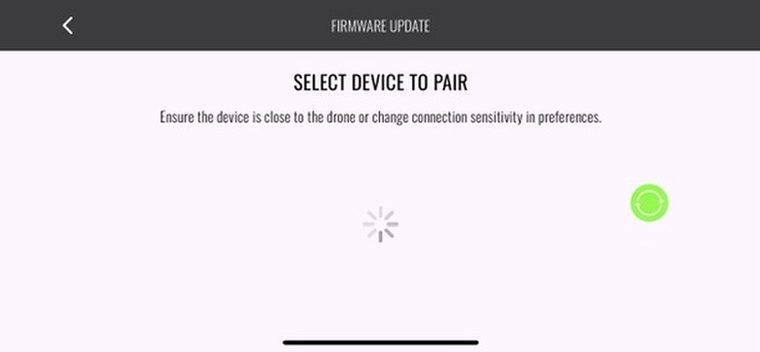
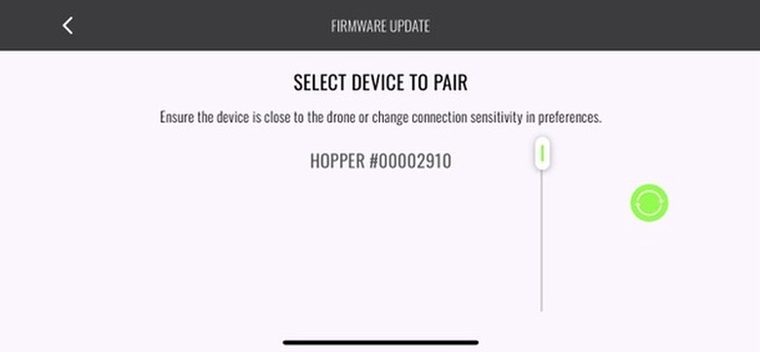
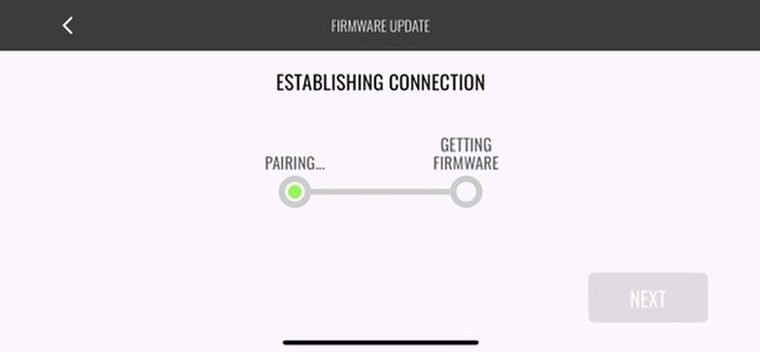
If nothing appears on the pairing screen, move the drone and your device closer together and tap the green refresh.
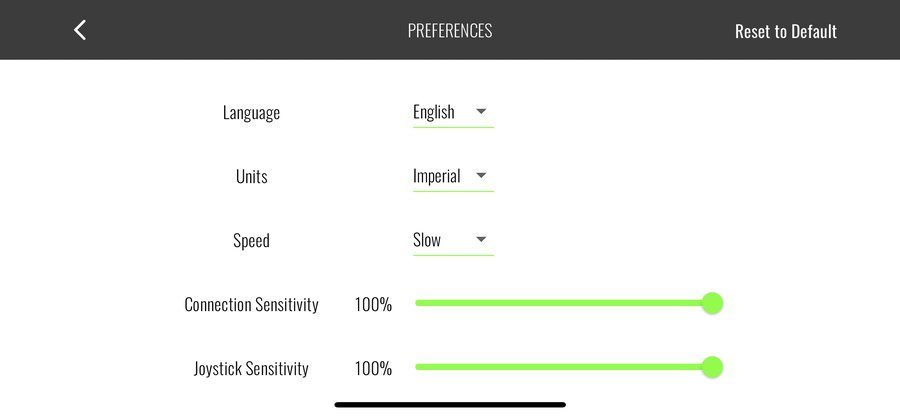
If you would rather not keep moving the drone, raise Connection Sensitivity. The app default is 65 percent and you can increase it as needed, up to 100.
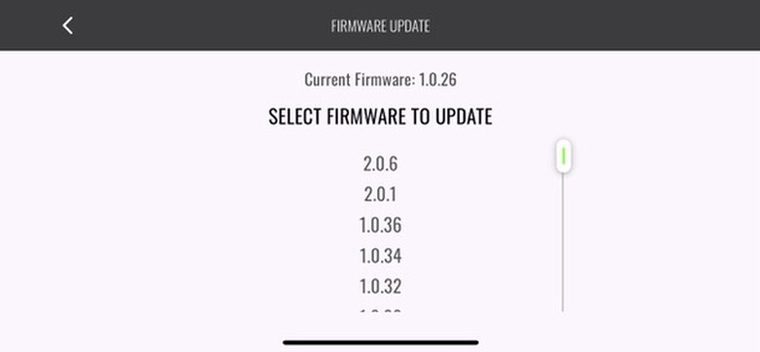
The installed version is shown at the top. Pick 2.0.6.
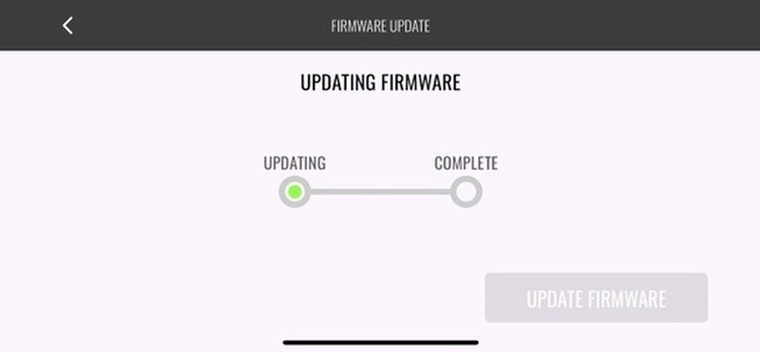
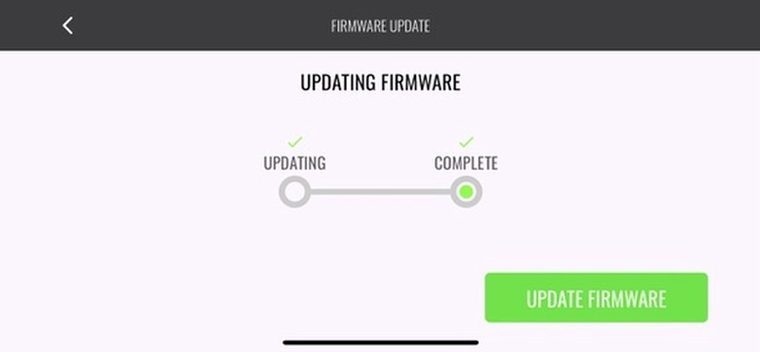
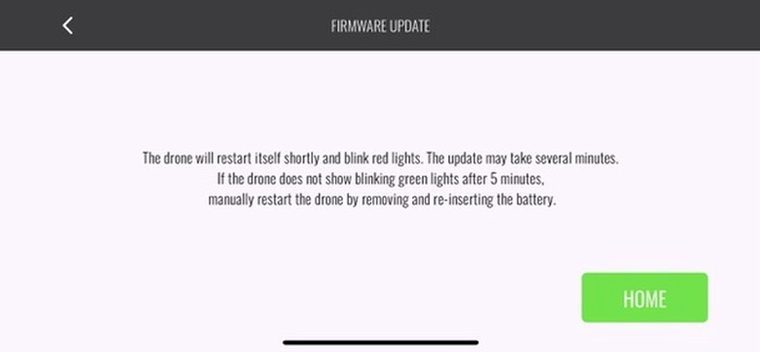
Repeat for every drone. Firmware lives on the drone, not in the app, so each one needs its own update.
Step 04
Calibration also tells you the motors are healthy. If any motor spins slower than the others or does not spin at all, do not take off. Check that motor before anything else. Two things to look at: the connector at the board, which can be disconnected or only partially seated and sitting at an angle instead of flat, and the wires where they enter the motor from underneath, which can be broken or pulled loose.
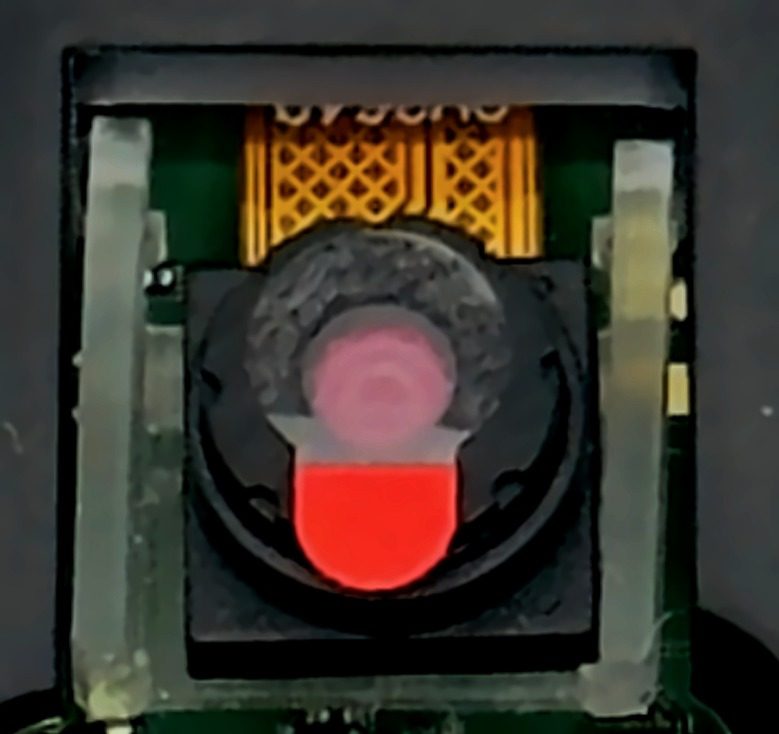
This is the camera lens. It sits on the underside of the printed circuit board, pointing down, either straight down at 90 degrees or at a 45 degree bird’s eye angle. The red tab is a protective sticker from manufacturing that sits directly over the lens. It should already be off. If it is still there, peel it away before flying.
The controller sleeps after 30 seconds. Any button wakes it.
Reading your hardware
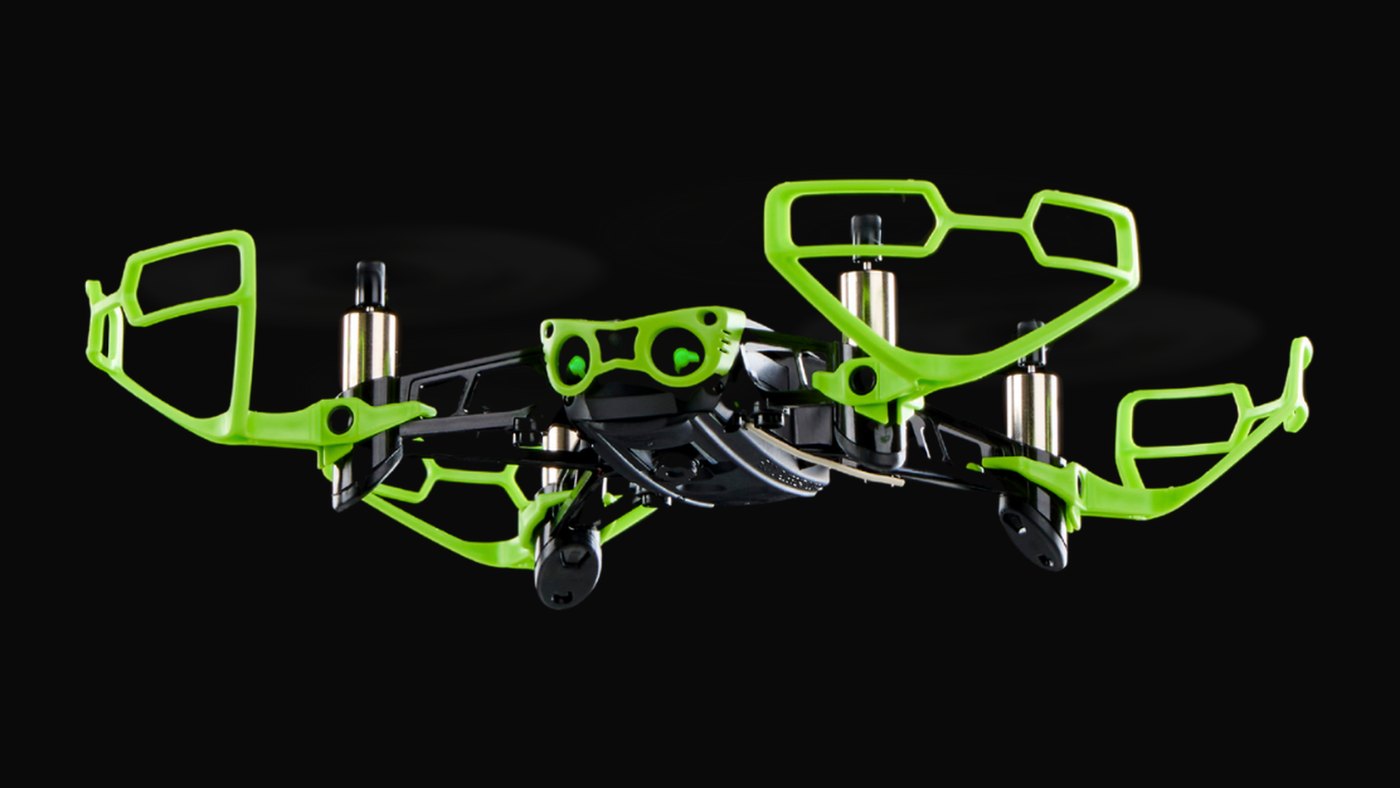
The light guides are the two chest lights on the front of the drone, what most people call Hopper’s eyes.
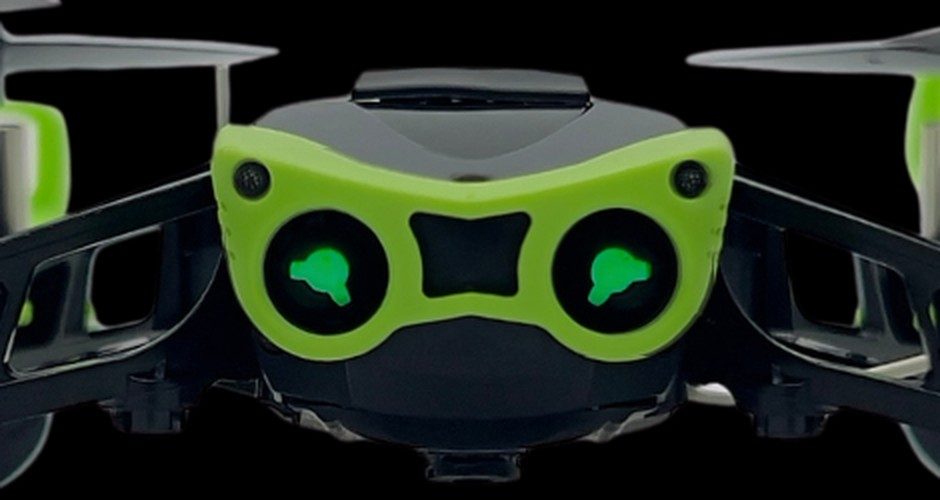
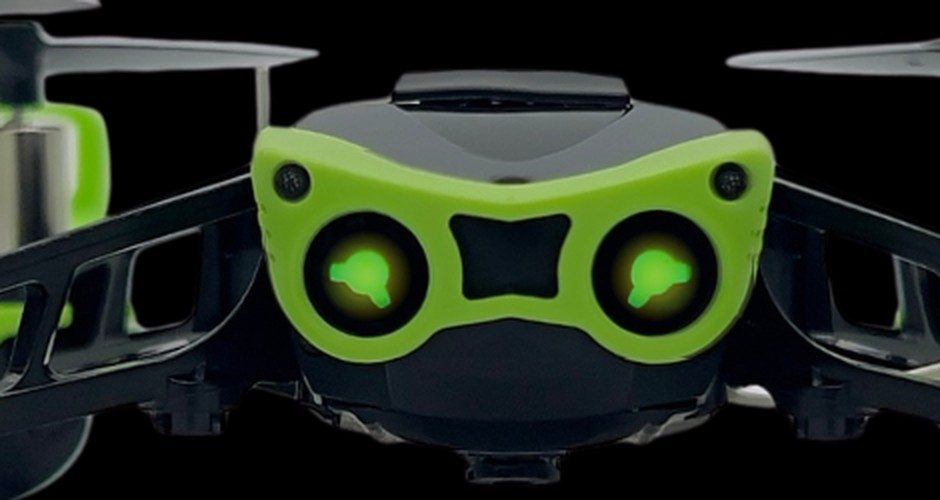
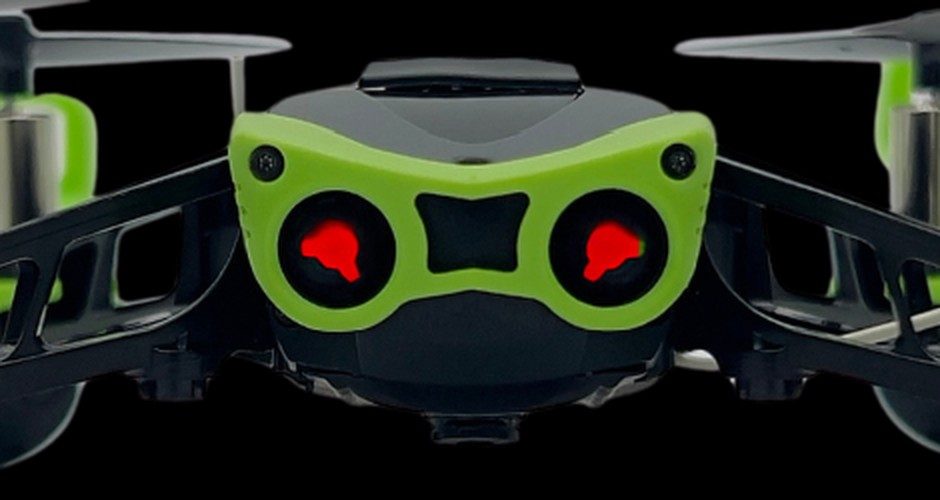
A fast red flash with no green is different. That is Hopper coming back up after a firmware update, and it is normal. See step 03.
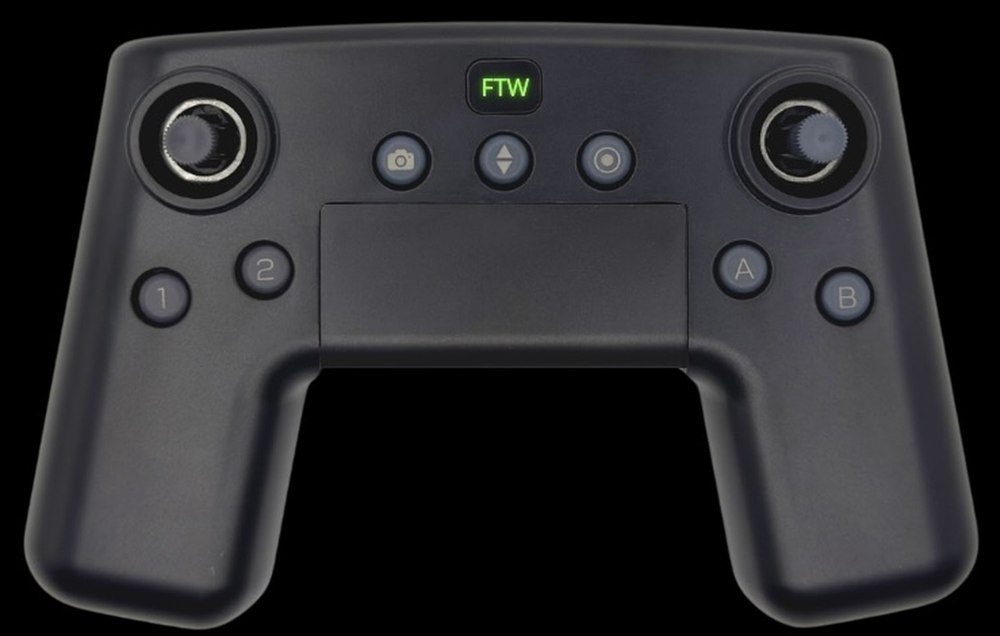
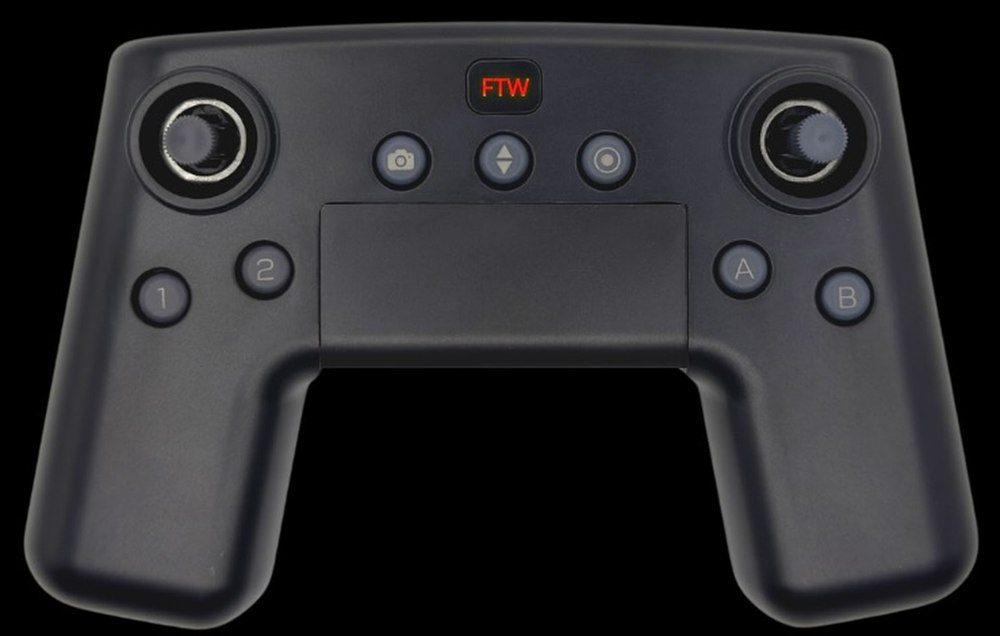
The controller reports the drone's battery, not its own.
Flying
The center button takes off to a hover at about three feet. Press it again to land and shut down all four motors.
Your first three modules
One module per verb. Build is the guide you just used. Fly and Code are interactive: a 3D Hopper built from the real CAD, and a working block workspace that flies that same drone. All three are free and open to everyone, no sign in.
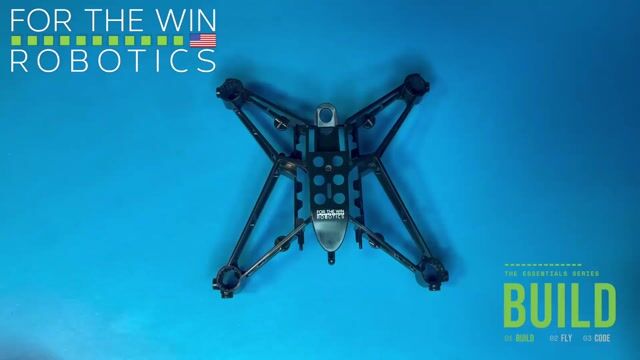
Every part of the Hopper, motors and PCB through propellers and battery. You own the machine before you fly it.
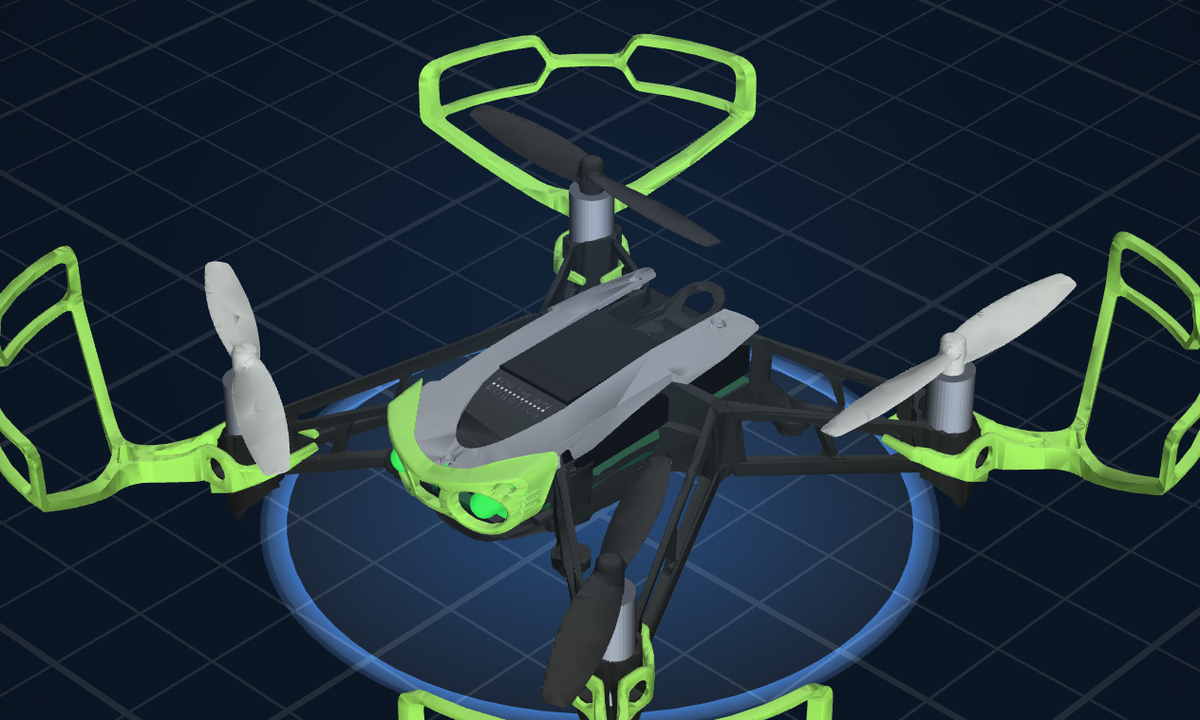
A 3D Hopper built from the real CAD with every part marked. The pre-flight check, the four flight axes, the Controller and its sticks, the FTW Fly app and the camera.
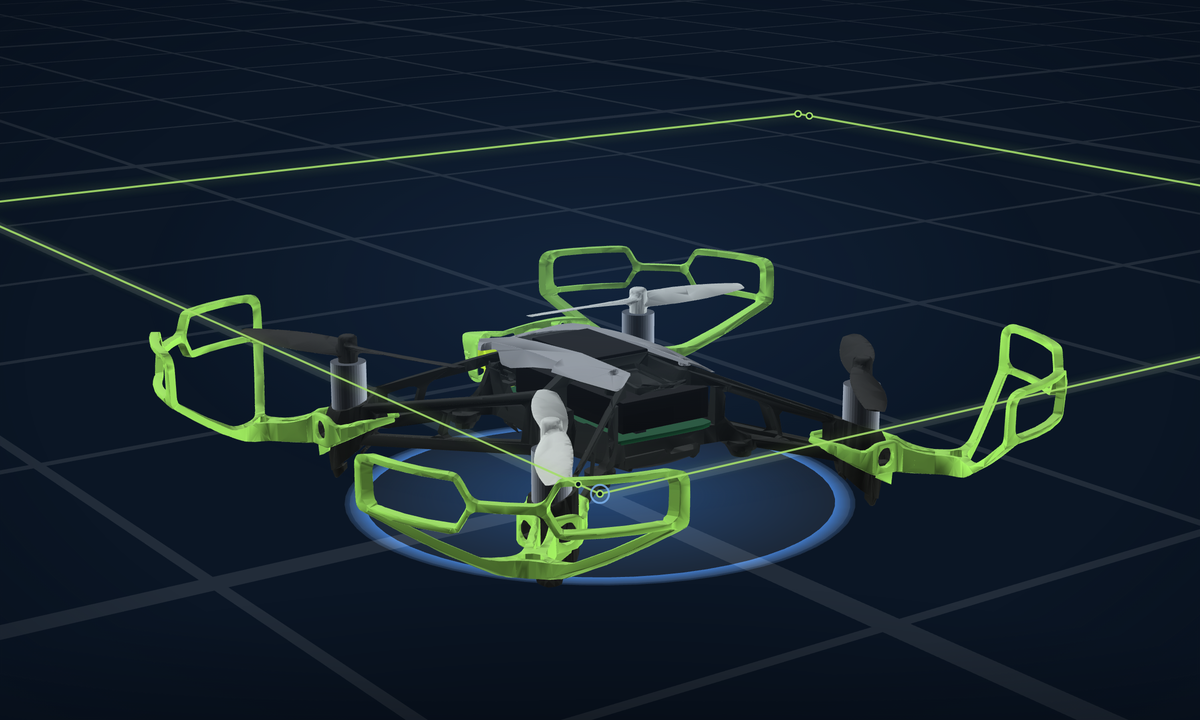
A working block workspace with the real FTW Code blocks, flying that same 3D Hopper. Ten steps from what an algorithm is to a square flown with a loop.
Fly and Code run a 3D drone in the browser and are built for a computer, not a phone. Build works anywhere.
Your apps
These are the two apps that talk to the drone. The Fly and Code modules above teach the ideas. These are what actually fly it.
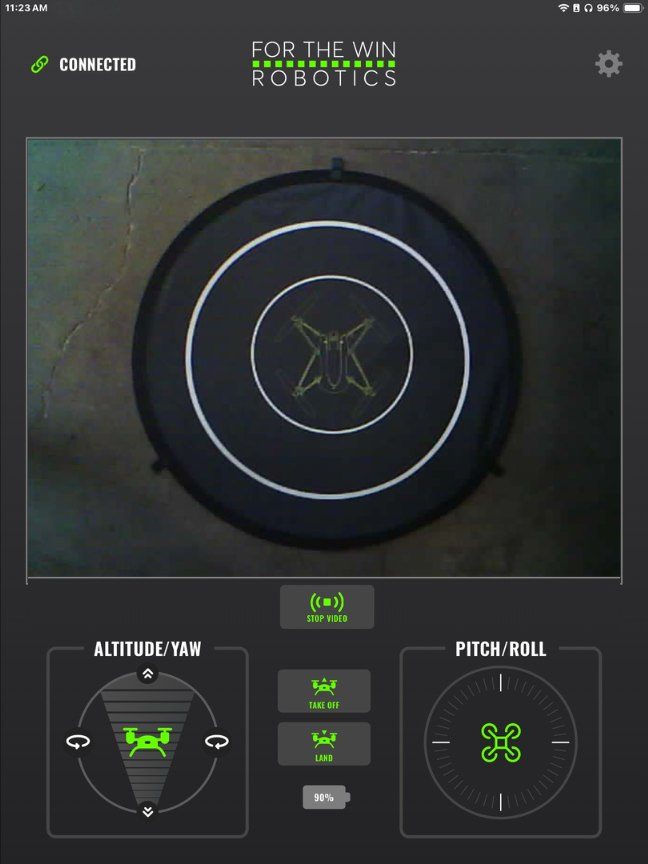
FTW Fly is the hub for everything Hopper. Firmware updates, the live camera feed, and app-based piloting if you want it.
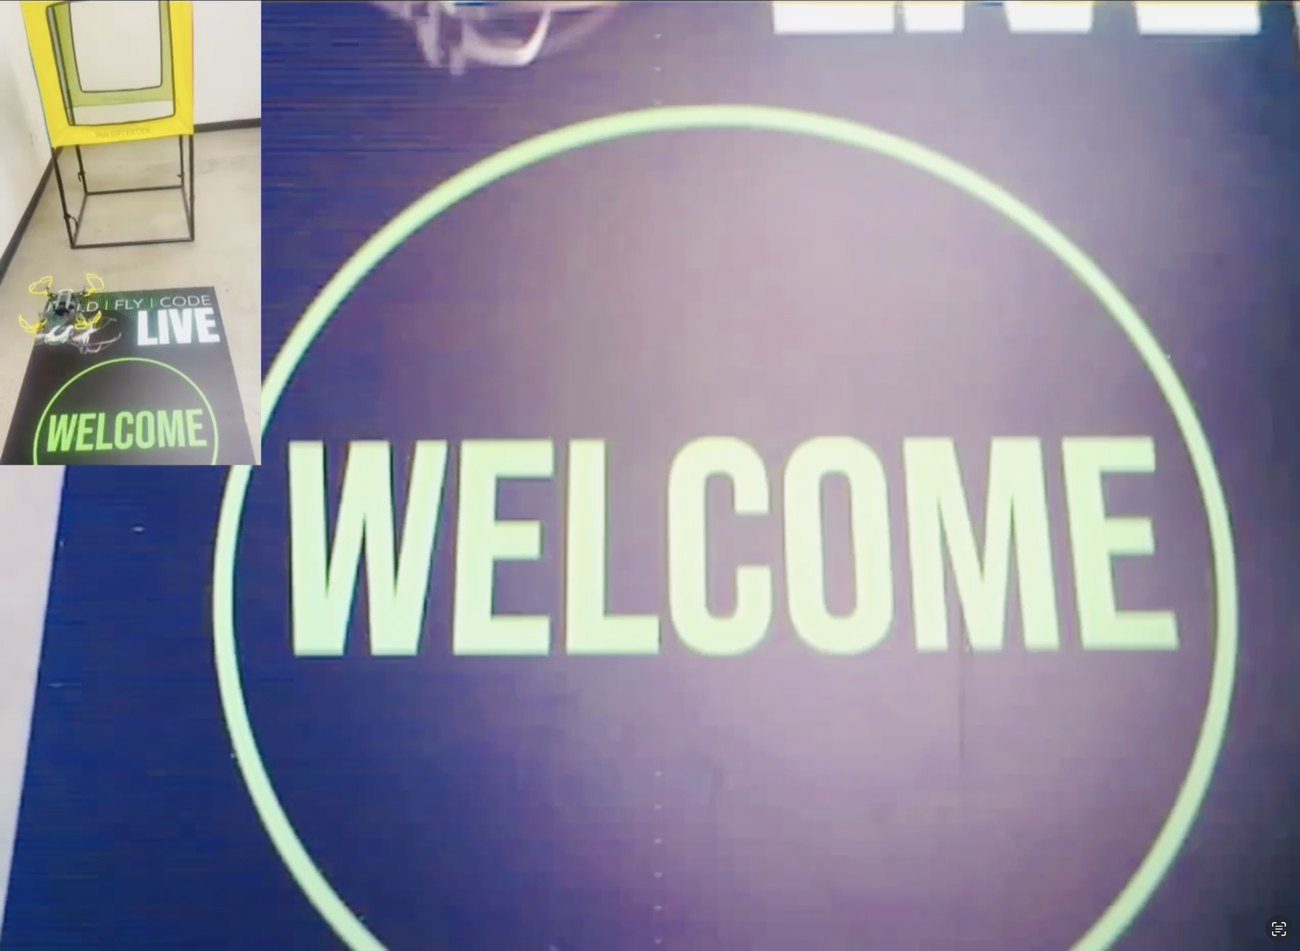
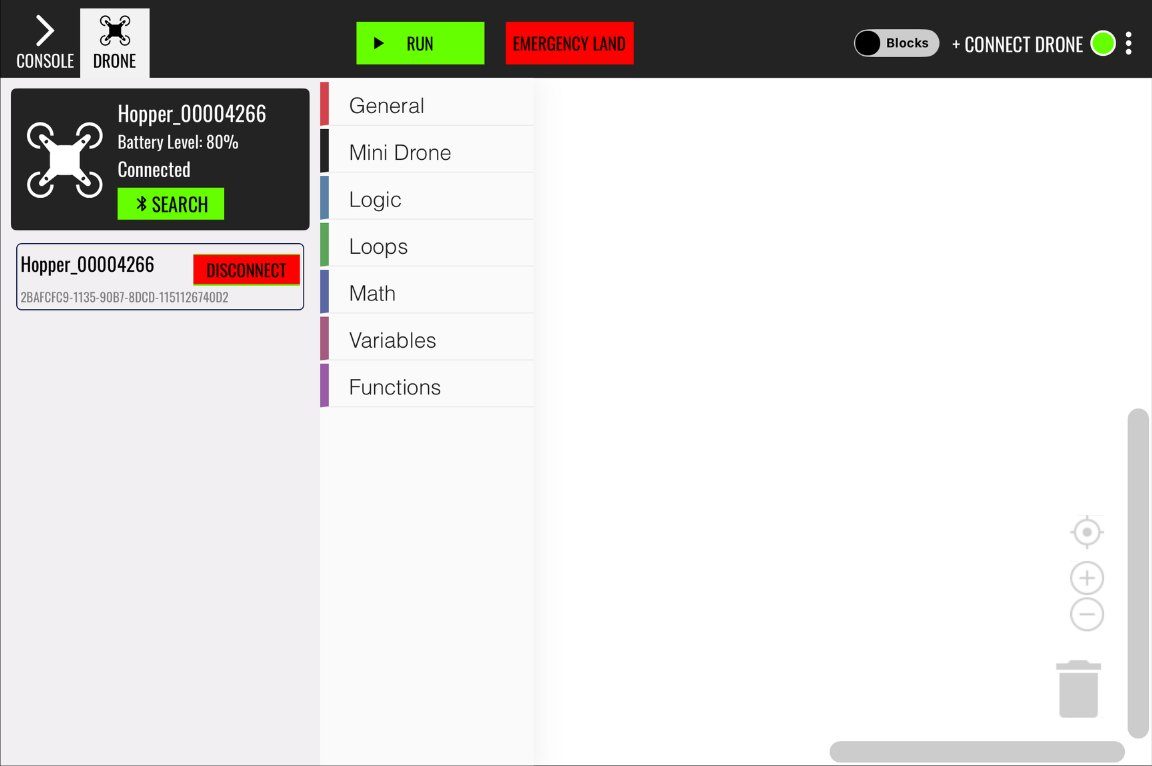
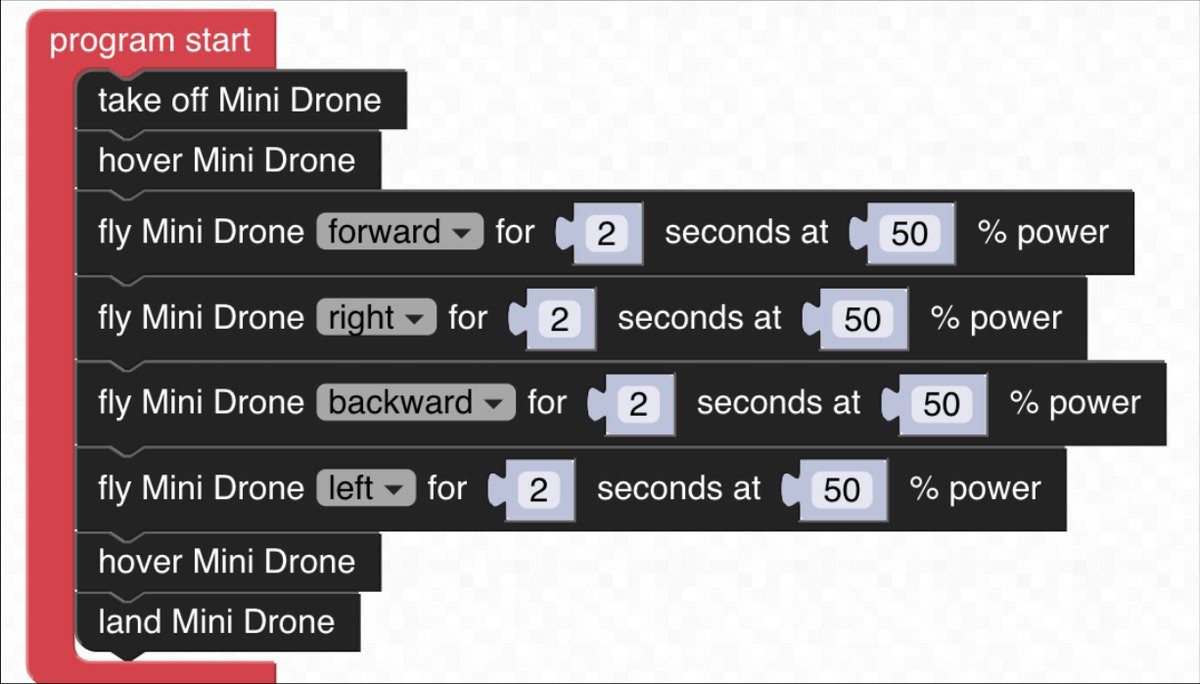
Block-based programming that gets students flying autonomous routines fast, with a JavaScript view alongside the blocks when they are ready for it.
Your curriculum
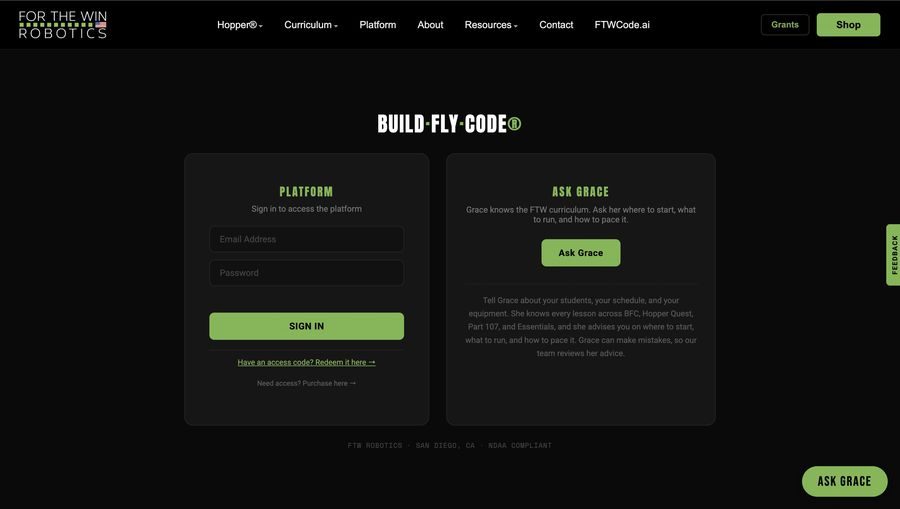
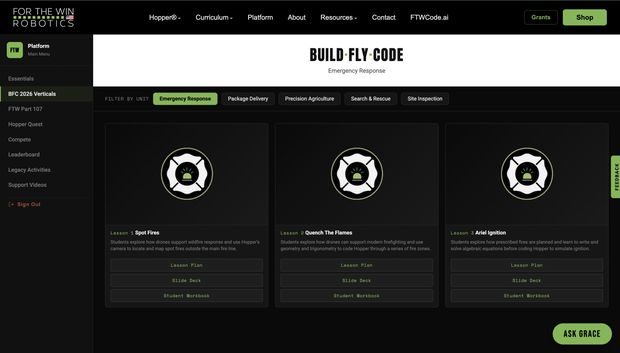
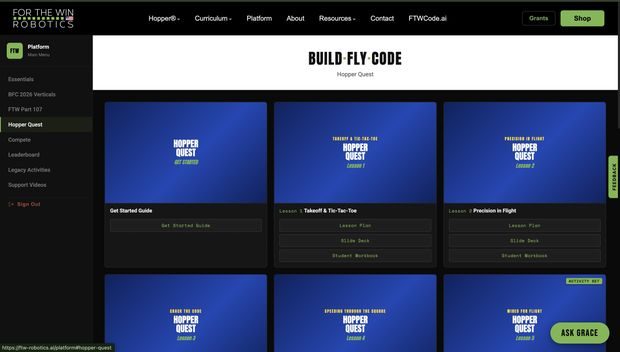
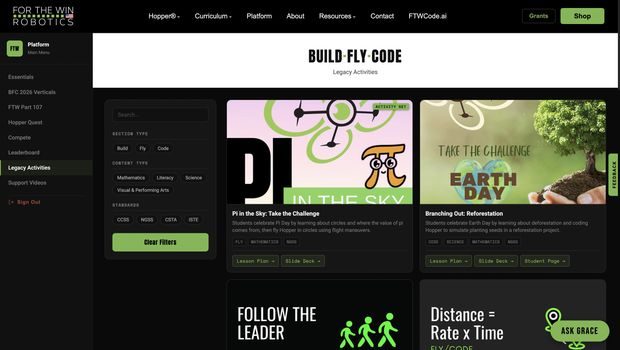
If your order came with an access code, redeem it at ftw-robotics.ai/platform to open Essentials, the lesson library, Hopper Quest, FTW Part 107, and competition materials. Not every Hopper order includes one. If yours did not and you want access, get in touch.